
I’ve set up dozens of Hakepads and I know exactly where people get stuck.
You just unboxed yours and you’re staring at a device that should be simple but somehow isn’t. The included instructions are probably useless. Most are.
Here’s the thing: the Hakepad has a few quirks that aren’t obvious at first. Miss one step and you’ll spend an hour troubleshooting something that should take five minutes.
I’m going to walk you through the entire setup process. Every step. Every setting that matters.
This guide covers everything from your first power-on to getting all your apps and preferences dialed in. No skipped steps. No assumptions about what you already know.
I’ve tested this process multiple times to make sure it actually works the way I’m describing it. Not how it’s supposed to work. How it actually works.
By the end of this, your Hakepad will be ready to use. No confusion. No going back to fix things you missed.
Let’s get started.
Step 1: Unboxing and Pre-Flight Checklist
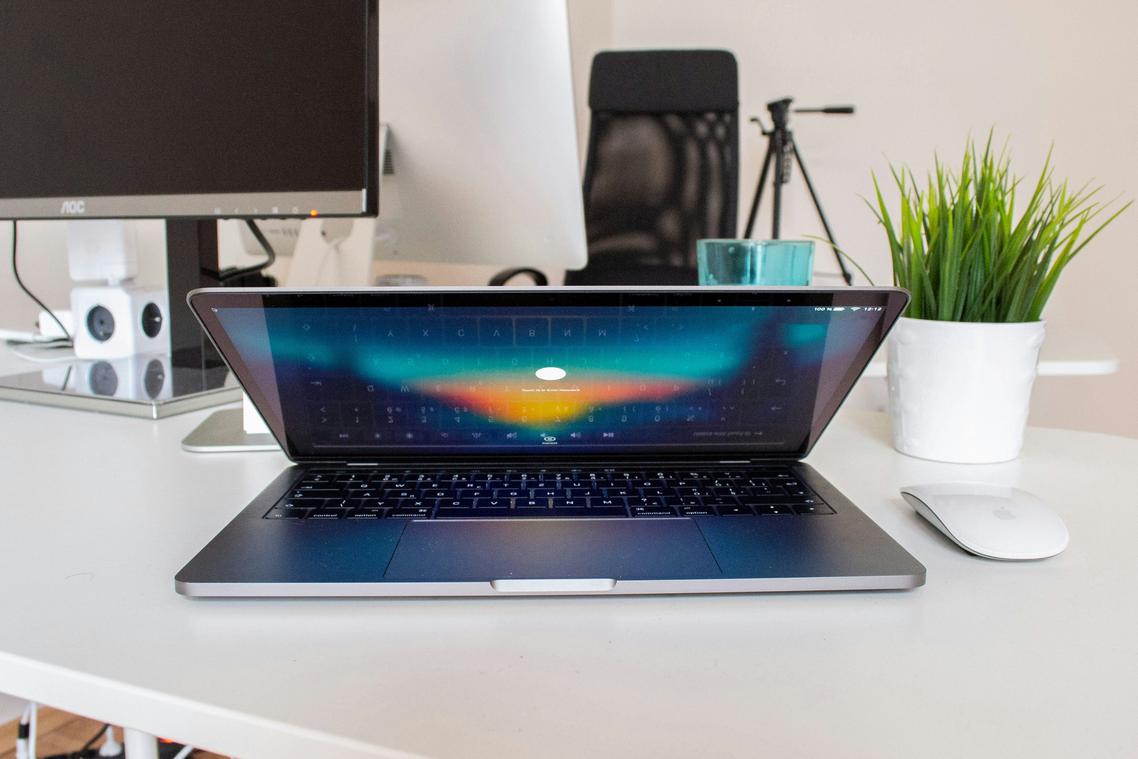
Let’s get your thehakepad out of the box.
First things first. When you open the package, you should see four items: the Hakepad device itself, a USB-C to USB-C charging cable, a 30W power adapter, and a small warranty pamphlet with quick-start info.
Before you do anything else, check the device for damage. I mean really look at it. Shipping can be rough (I’ve seen packages that looked like they went through a demolition derby). If you spot any dents, scratches, or cracks, contact support right away. Don’t wait.
Now here’s something most people skip.
Use the included cable and adapter for your first charge. I know you probably have a drawer full of USB-C cables at home. But trust me on this one. After years of testing devices, I’ve learned that the initial charge sets the tone for everything that follows.
Plug it in and let it charge for at least 30 minutes before you hit that power button.
Why 30 minutes? The device needs enough juice to run through its first update cycle without dying mid-process. I learned this the hard way back in 2022 when I powered on a tablet at 8% battery. It bricked during the update and I spent two hours on support calls.
Not fun.
Once you’ve got those 30 minutes in, you’re ready to move forward with how to set up thehakepad.
Step 2: Powering On and the Welcome Experience
Find the power button on the right edge of your device.
Press and hold it for three seconds. You’ll see the Hakepad logo appear on screen.
Some people say you should just tap the button quickly like you would on a phone. But that won’t work here. The device needs that full three-second press to boot up properly.
Once the logo fades, you’ll see the welcome screen.
Language Selection comes first. Scroll through the list and tap your preferred language. The interface updates immediately.
Next up is Region Selection. This affects your keyboard layout and date formats (not just your time zone). Pick the region that matches where you’ll use the device most.
The third screen shows Accessibility Options. You can skip this for now and adjust settings later. Or take a minute to turn on features like larger text or screen reading if you need them.
What If Nothing Happens?
No power? Don’t panic.
Here’s what to check when you learn how to set up thehakepad and the screen stays black:
First, confirm it’s been charging for at least 30 minutes. The battery might have been completely drained during shipping.
Second, press and hold that power button for a full 10 seconds. Sometimes the device needs a harder reset than you’d expect.
Third, try a different outlet. I’ve seen charging bricks fail more often than the devices themselves.
Still nothing? You might have a hardware issue that needs support.
Step 3: Network Connection and Critical System Updates
You’ve got two choices here.
Skip the Wi-Fi setup and deal with it later. Or connect now and get the system updates out of the way while you’re still in setup mode.
I always pick option two. Here’s why.
Connecting to Wi-Fi
When you hit the network screen, you’ll see a list of available networks. Tap yours. Enter your password (yeah, it’s case-sensitive). Hit connect.
The Hakepad will show a checkmark when it’s done. Takes about five seconds if you typed everything right.
Why This Update Matters
Now here’s where some people want to bail.
The system immediately asks to download an update. You might be tempted to skip it and come back later. I get it. You just want to start using your device.
But this first update? You can’t skip it.
It’s not about new features. It’s about security patches and fixes that make how to set up thehakepad actually work the way it should. Without it, you’re running on factory software that’s probably months old.
What Happens Next
The download starts automatically. You’ll see a progress bar. Then the device prepares the update, which looks like nothing’s happening but trust me, it is.
After that, you get a restart prompt.
The whole thing takes 10 to 20 minutes. Keep your Hakepad plugged into the charger the entire time. If the battery dies mid-update, you’re looking at a much bigger headache.
Some devices finish in eight minutes. Others take the full twenty. Don’t panic if yours sits at 85% for a while (mine always does).
When it reboots, you’ll know the newest updates thehakepad installed correctly because you’ll see a confirmation screen.
Then you’re ready to move on.
Step 4: Account Sign-In and Data Migration
You know what drives me crazy?
When you’re setting up a new device and you have no idea which sign-in option actually matters. Google? Apple? Some account you created three years ago and barely remember?
I see this all the time. People tap through these screens without thinking, then wonder why their apps won’t download or their photos disappeared.
Let me walk you through how to set up thehakepad the right way.
Pick Your Primary Account
First, you’ll need to sign in. Most people go with Google or Apple depending on what they already use.
Here’s why this matters. Your account unlocks the app store and backs up your stuff to the cloud. Skip this step and you’re basically flying without a net.
If you’re on Android, use your Google account. iPhone user? Go with Apple. You can always add a Hakepad-specific account later if you want.
Moving Your Old Data
Now comes the part that confuses everyone.
You’ve got two main options: restore from a cloud backup or use a direct cable transfer.
Cloud backups are simple. Your old device already saved everything online, so you just pull it down. The downside? It takes forever if you’re on slow wifi. And I mean forever (like watching paint dry while your battery drains).
Cable transfers are faster. You physically connect your old device to your new one and everything moves over in minutes. But you need the right cable, which of course you probably can’t find when you need it.
Starting Clean
Some of you don’t want any of that old baggage.
I get it. Sometimes a fresh start feels right.
You can absolutely set up as a new device. Your photos and contacts aren’t gone forever. You can grab them later when you’re ready.
Check out thehakepad newest updates from thehake for more setup tips that actually work.
Step 5: Securing and Personalizing Your Device
First things first.
You need to lock down your device before you do anything else.
I know it feels like extra work when you just want to start using your new phone. But skipping security setup is how people end up with stolen data and unauthorized purchases on their accounts.
Let’s talk about how to set up thehakepad the right way.
Setting Up Your Screen Lock
When you finish the initial setup, your phone will ask you to create a screen lock. Don’t skip this.
You’ve got three options: PIN, Password, or Pattern.
A PIN is just numbers. Quick to type but easier to guess if someone’s watching over your shoulder. A Password gives you more security because you can mix letters and numbers. A Pattern is that thing where you draw a shape on a grid of dots.
Pick whichever one you’ll actually remember. Because trust me, getting locked out of your own phone is worse than dealing with a few extra seconds of typing each day.
Adding Biometric Authentication
Now here’s where things get faster.
After you set your main lock, the phone will walk you through Face Unlock and the Fingerprint Sensor. Just follow the on-screen tutorial. It’ll ask you to scan your face from different angles and press your finger on the sensor multiple times.
Why bother? Because biometrics make unlocking way faster while keeping things secure. You get the protection of a strong password without typing it fifty times a day.
Quick Personalization Tweaks
Once you hit the home screen, you can breathe.
But before you start downloading apps, fix these basics. Swipe down from the top to open quick settings and adjust your screen brightness so you’re not squinting or burning through battery. Head into Display settings to change the font size if the text feels too small. And if you hate the default wallpaper (most people do), long press on the home screen to pick something new.
These small changes make the phone feel like yours.
Your Hakepad is Ready to Go
You’ve done it.
Your new Hakepad is unboxed, updated, and secured. What started as a device in a box is now personalized and ready for whatever you need.
I know the initial setup can feel like a hurdle. But you just turned it into a simple, guided experience.
Here’s why this approach works: You followed structured steps that got your device running optimally and securely from day one. No guesswork, no skipped settings that come back to bite you later.
Now comes the fun part.
Head to the app store and start exploring. Your Hakepad has features you haven’t discovered yet. Take some time to poke around and see what this thing can really do.
The setup is behind you. Making thehakepad truly your own is what’s next.
You came here wondering how to get started. Now you’re ready to actually use the device you bought.
Go make it yours.
 Driven by a lifelong passion for innovation, Jyxilon Pell founded The Hakepad as a dedicated hub for exploring the frontiers of the tech world. With a keen eye for emerging trends and a deep understanding of the rapidly evolving digital landscape, Jyxilon created the platform to bridge the gap between complex tech advancements and everyday enthusiasts. Whether detailing cutting-edge hardware benchmarks, breaking down intricate software developments, or analyzing industry-shifting news, Jyxilon’s mission remains clear: to build an ultimate destination that empowers, informs, and inspires a global community of tech lovers.